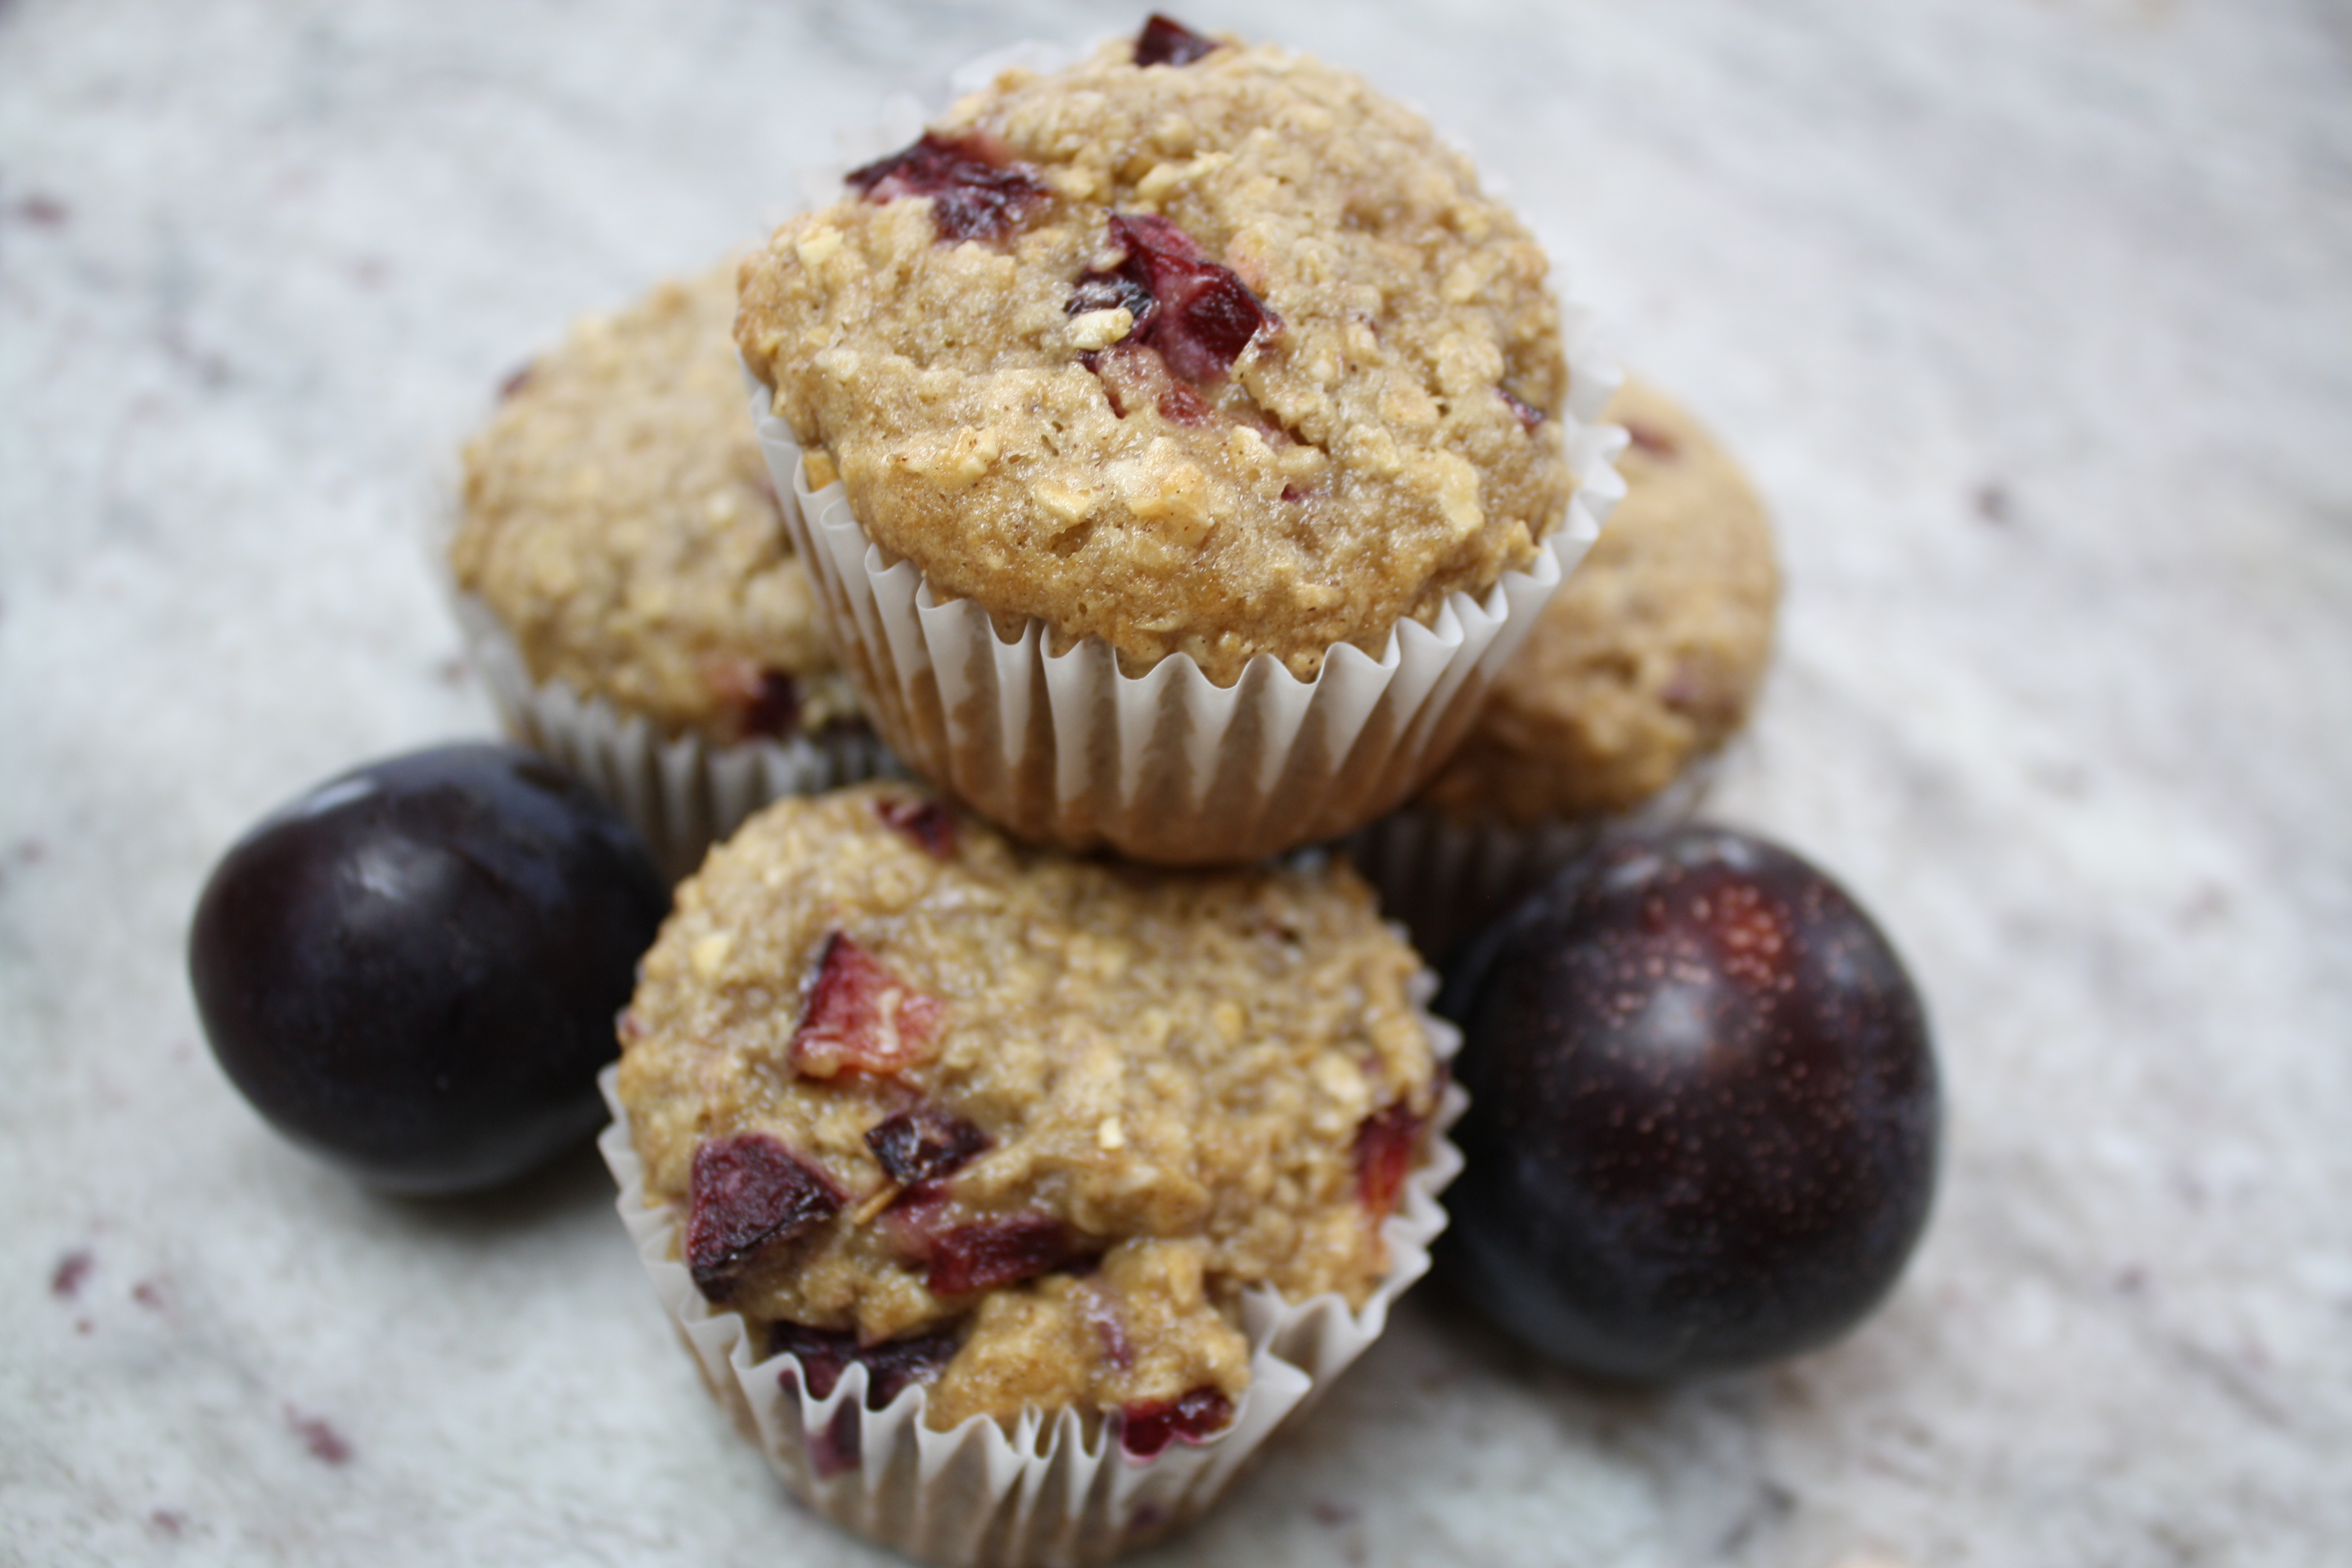
Gluten Free Plum Oatmeal Muffins
One of my husband's hobby's is to garden. He loves to garden and he especially loves fruit trees. Our backyard is full of fruit trees. Pretty much anything you can think of, we have at least one of them. We have peaches, nectarines, plums, pluots, apricots, nectaplums, apples, oranges, limes, lemons and so much more. It seems like every time he has a day of from work, he is outside planting something else in the backyard. While most of the time it drives me crazy, in summer I am reaping the rewards when everything starts to ripen. We have had so much fruit this year, we seriously don't know what to do with ourselves. Southern California had a lot of rain this year and because of that we got almost double the amount of fruit that we had last year. I have been wracking my brain to come up with ways to use all of it before it goes bad.
I was at my sister's house and she made some muffins that looked absolutely amazing. She also had a lot of fruit this year and had tons of plums that she didn't want to go to waste so she made some plum, oatmeal muffins. Now, she is not gluten free and the muffins that she made were not gluten free as well so I couldn't try them. My husband was happy to taste them for me and he said they were so good and that I needed to go home and make them. I agreed with him and went home to come up with a recipe that would be gluten free and equally good.
I was so happy with the way these muffins came out. They tasted amazing and were packed full of that amazing plum flavor. They were hearty without being too much. They were definitely filling and everyone gobbled them up as soon as they were cool enough to eat. I was also super happy that they were super easy to make and came out perfect the very first time I made them. These would be great to make and then freeze. They would taste amazing over the next year to pull a few out and enjoy some summer flavors during the cold winter months.
The other thing that I loved about these muffins was that I had all the ingredients in my pantry. I didn't need to go out and search for other ingredients. I don't eat a whole lot of oats but I usually always have gluten free oats in my pantry if I feel like oatmeal. I try not to eat a lot of them but having them every once in a while is fine for me. Just make sure that you use certified gluten free oats. DO NOT USE REGULAR OATS!!! They are not gluten free and will make you sick. I can usually find gluten free oats at any grocery store or Wal-Mart. I use the Bob's Red Mill Gluten Free Oats and I have never had any problems with them so I recommend using those if you can find them.
I highly recommend this recipe, especially if you are in the same bind that I am with fruit coming out your ears! It is a great way to use up fruit and enjoy some delicious muffins at the same time. They truly are delicious and you need to give them a try. Check out the video down below to see exactly how I made them and make sure to check out more recipes on my blog!
Yield: 24 muffins

Gluten Free Plum Oatmeal Muffins
These gluten free plum oatmeal muffins are packed full of fresh plums and healthy oats. They are so delicious and you won't be able to get enough!
prep time: 30 Mcook time: 25 Mtotal time: 55 M
ingredients:
- 2 cups gluten free 1 to 1 flour blend
- 1 tablespoon baking powder
- 3 cups gluten free rolled or quick cooking oats
- 2 teaspoons cinnamon
- 2 cups brown sugar
- 8-12 large plums, pitted and chopped into small pieces
- 1 cup melted butter
- 2 eggs
- 1/2 cup milk
- 2 teaspoons pure vanilla extract
instructions:
How to cook Gluten Free Plum Oatmeal Muffins
- Preheat oven to 350 degrees F. and line 24 muffin pans with liners.
- Combine gluten free flour, baking powder, oats, cinnamon, and brown sugar in a large mixing bowl and stir to combine. Break up any lumps.
- Add chopped plums and stir to combine.
- Add butter, eggs, vanilla, and milk. Mix all the ingredients together until just combined.
- Divide mixture evenly between the muffins pan wells, filling them about 3/4 full. Bake for 25 minutes or until a toothpick inserted into the middle comes out clean.
- Allow a few minutes to cool before transferring them to a wire rack to cool completely.


0 comments