
Gluten Free Beignets
If you are new to my blog then you might not know but I am a Disney lover. I love Disney, most importantly Disneyland. I have lived within an hour of Disneyland almost my whole life and I have taken advantage of the proximity and have been a season pass holder most of my life. I now love to go to Disneyland with my kids and one of the things that I love about Disneyland is all the yummy food that they have there. They really are super great about gluten free and really all food allergies and go out of their way to provide yummy treats for everyone. One thing that they don't provide, at least not yet, is gluten free beignets. New Orleans square is a huge part of Disneyland and they have all different kinds of food there but one of the things that they are super famous for is their beignets. My kids always beg for them when we are there and I usually give in while I don't get to partake in the treats, I do smell them and try to remember what they taste like. The last time that I was there, I was with a friend and talking to her made me determined to create a gluten free beignet that was just as good. Well folks, I think I did it!


Yield: 30 Beignets
Gluten Free Beignets
Get transported right to New Orleans with this delicious treat! They are light, fluffy and everything that a beignet should be!
prep time: 1 H & 15 Mcook time: 10 Mtotal time: 1 H & 25 M
ingredients:
- 3/4 cup lukewarm water
- 1 packet active dry yeast
- 2 large eggs
- 1/2 cup whole milk
- 3 tablespoons unsalted butter, melted
- 1/4 cup, plus 2 tablespoons sugar
- 4 cups gluten free 1 to 1 flour blend, (I use Bob's Red Mill 1 to 1 Gluten Free Flour Blend)
- 1/2 teaspoon kosher salt
- 8 cups canola oil or shortening for frying, plus more for greasing
- powdered sugar, for topping
instructions:
How to cook Gluten Free Beignets
- Pour the water into a medium bowl or a large liquid measuring cup and sprinkle the yeast over the top. Let stand for about 5 minutes, until foamy.
- Add the eggs, milk, melted butter and whisk to combine.
- In a large bowl or bowl of a mixer, whisk together the flour, salt and sugar.
- While slowly stirring dry ingredients, add wet ingredients until incorporated. Then increase mixer speed to medium/high and beat for about 2 to 3 minutes until fully combined.
- Grease a large bowl with oil and transfer the dough to the greased bowl and cover tightly with plastic wrap. Let the dough rise in a warm place until it has about doubled in size, about 1 hour.
- Punch dough down with your fist, then turn it out onto a lightly floured surface.
- Roll the dough into a large rectangle, about 1/4 inch thick. With a sharp knife, cut the dough into 2-inch squares, then transfer the squares to a baking sheet lined with parchment paper.
- Heat the oil or shortening in a large pot over medium-high heat until it reaches 350 degrees F.
- Lower the dough squares, 3-4 at a time, into the hot oil. As soon as the beignets puff up, use tongs to gently flip them over. Fry until golden brown on both sides, flipping as needed, 2-3 minutes. Transfer beignets to a wire rack to drain.
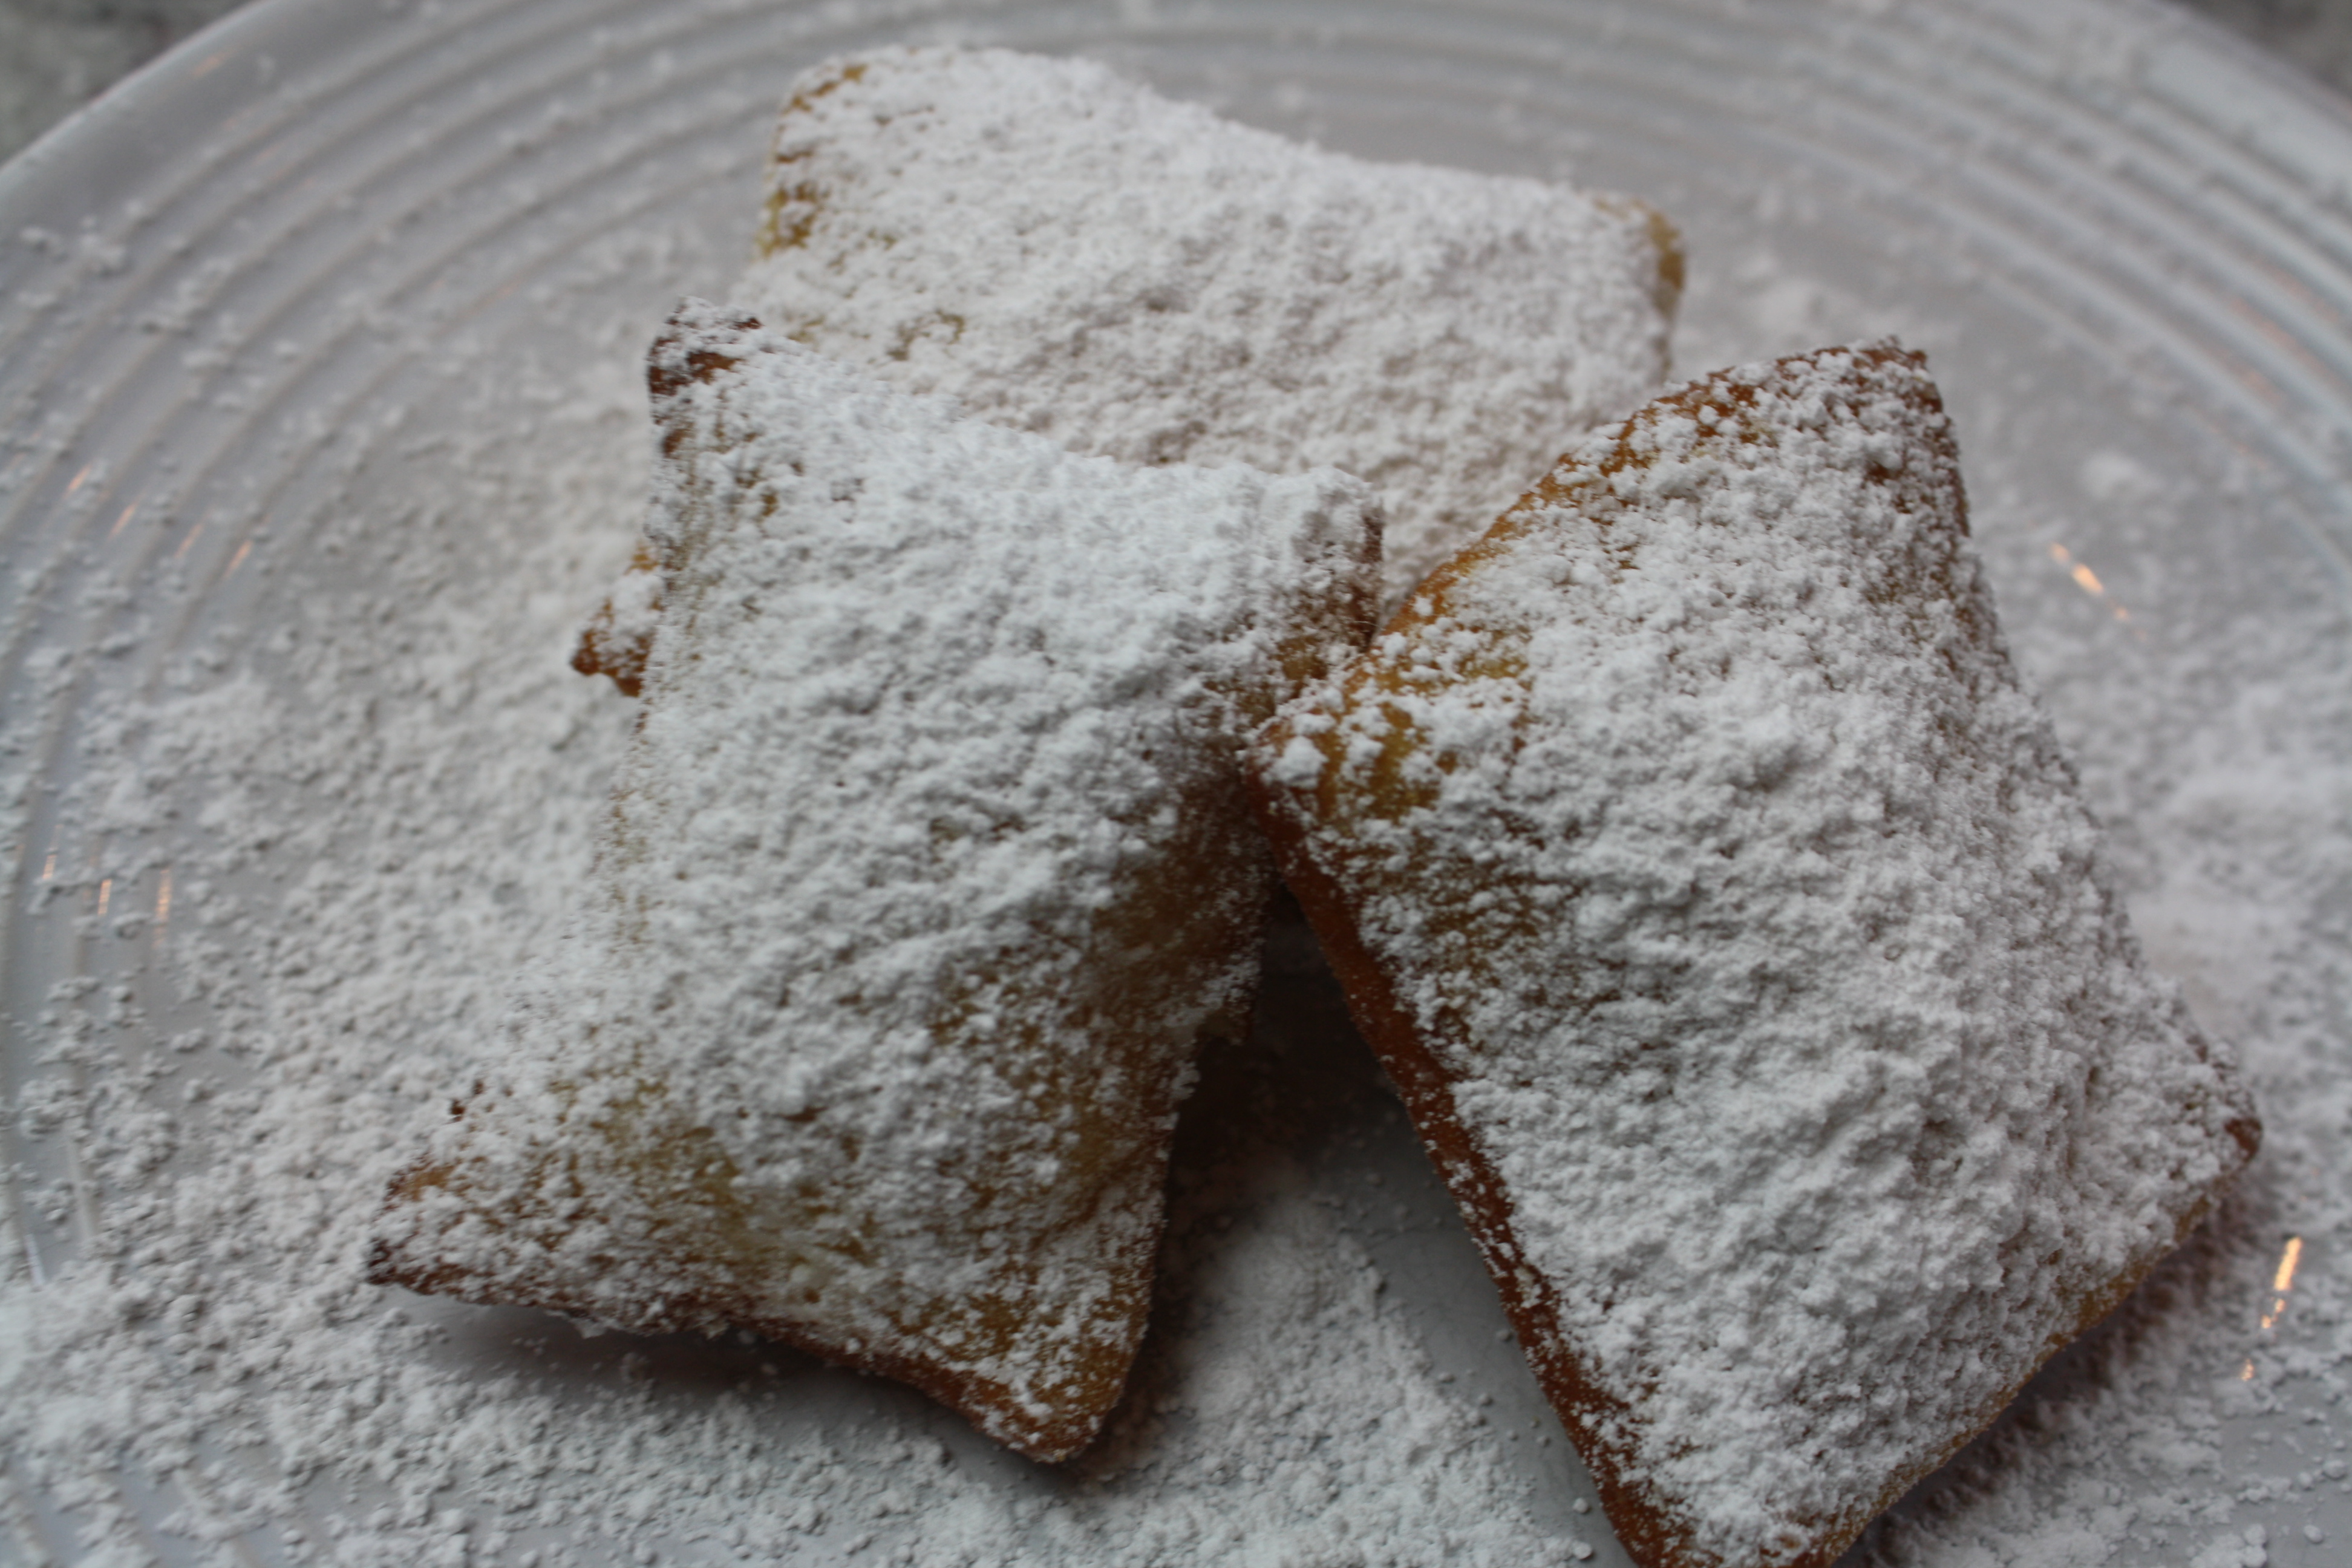
- Dust the beignets with powdered sugar and serve warm.


4 comments
This looks great! Must try! Thanks!
ReplyDeleteHow long does the dough last?
ReplyDeleteI always cook them immediately and haven't tried to freeze the dough so I'm not sure if it will change them or they will cook like normal.
DeleteGood recipe. Worked well. My dough was a little wet and had to add quite a bit of flour to handle it, but you'd never know they were gluten free.
ReplyDelete